Session-12_ Drone_Programming.pptx
Drone Programming Basics
"I know this looks like science fiction, it’s not. It’s early. This is a drone that’s going to be used to deliver packages."

Jeff Bezos
Introduction
This module focuses on how drones are programmed to perform flight actions such as take-off, hover, and landing using block-based and Python coding.
Prerequisite Knowledge
- Basic understanding of drone components.
- Interest in computers or coding.
- Knowledge of drone flight directions (up, down, rotate).
Learning Objectives
- Learn how to connect and control a drone using software.
- Understand coding logic for basic flight.
- Build simple automated routines.
Tools & Materials Required
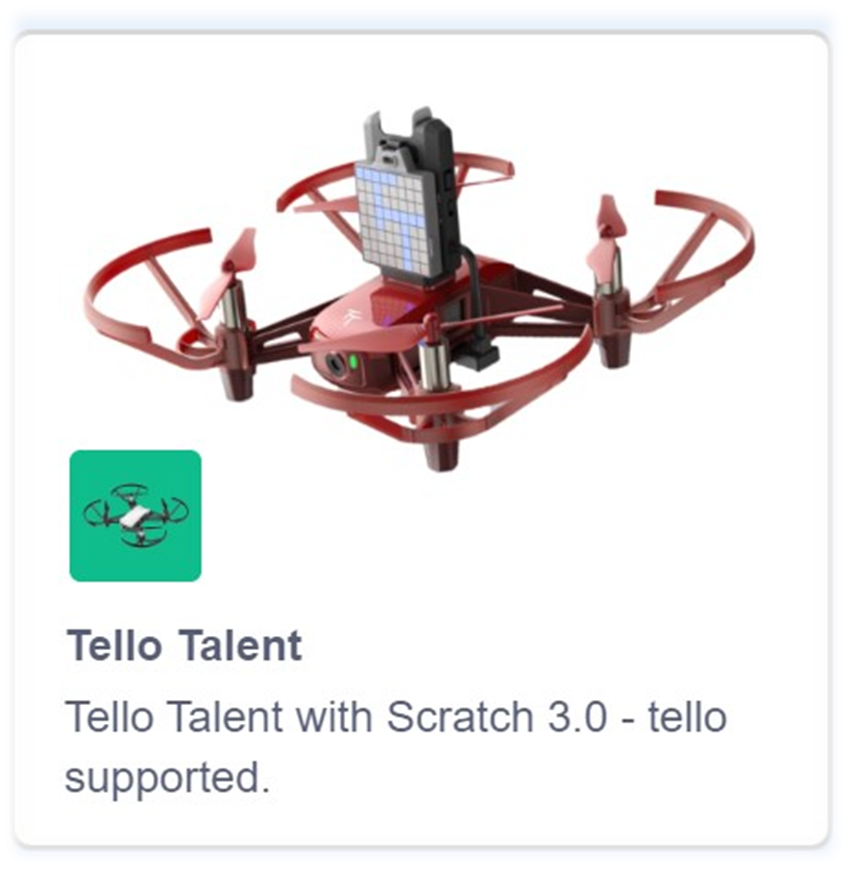
- Laptop/PC with programming software (e.g., Scratch 3.24.1).
- Programmable quadcopter drone (e.g., DJI Tello).
- Wi-Fi or Bluetooth connection.
- Open field or large classroom space for flying.
Content
1. Introduction to the Programming Platform:
Starting the session by introducing to a block-based drone programming tool such as Scratch 3.24.1. These platforms use visual coding blocks to control a drone’s actions, making it easy and fun to learn programming without needing to write traditional code.
2. Connecting to the DJI Tello Drone via Wi-Fi:
Turn on drone and open the software Scratch 3.24.1 then click on add extension and add tello talent and after that once you will write the code and click at green flag it will connect to the drone wi-fi, and you will get the status information.
Test Connection
Click the green flag to initiate the program. A Connecting window will pop up to connect with Tello. Once the drone is connected, the Connecting window will close automatically, and the programs will run successively.

As a state display block is used, the Tello status window will appear and can be closed at any time and the status information can be checked for further information.
Status Information
CMD: Command number: current command
RES: Command number: return information of the command
Time: flight time after Tello takes off
Battery: remaining power of Tello
Pitch: pitch angle
Roll: roll angle
Yaw: yaw angle
vgx/vgy/vgz: speed on x, y, z
agx/agy/agz: acceleration on x, y, z
Tof: height from the ground
Height: height from the takeoff point

Understanding the Function of Each Block:
Introduce the key command blocks:
- takeoff – makes the drone rise and start flying.
- hover – keeps the drone stable in the air.
- wait – pauses the next command for a set time.
- land – safely lands the drone.
Creating a Sample Program

Highlighting Safety Protocols:
- Always test drones in open spaces
- Keep fingers away from propellers during setup
- Check battery levels before flying
- Never fly near people, fans, or delicate objects
Outcome
- Students will be able to write a simple code to control drone movements.
- They will learn how to connect drones with coding platforms.
- Students will understand how code turns into real drone movement.
There are no comments for now.